BreadboardBot
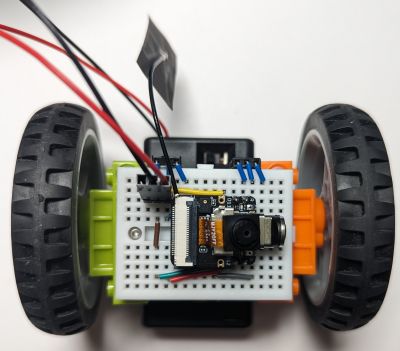
Web-steerable FPV robot (ESP32S3 Sense, Arduino)


This is an Arduino-based version of the Web-based control example for the Xiao ESP32S3Sense microcontroller with improved UI.
-
Wiring
Use the base assembly wiring.
-
Programming
- The code is under WebFPV.
- If you are using GeekServo motors, edit
config.hand uncomment#define MOTORS_GEEKSERVO. - Optionally, edit
WebFPV.ino, comment outsetupWifi()and instead uncomment the line// setupWifi(false, "<SSID>", "<password>");, substituting the correct SSID and password. Otherwise the robot will start an access point namedBreadboardBotFPV.
- If you are using GeekServo motors, edit
- Using Arduino CLI:
- Run
arduino-cli compile --log(in theWebFPVfolder). - Connect the MCU to USB while holding the BOOT button and run
arduino-cli upload -p <port>. Release the BOOT button when the upload starts.
- Run
- Using Arduino IDE:
- Install the
ESP32board and theESP32Servolibrary. - Open
WebFPV.ino, choose theesp32->XIAO_ESP32S3board, selectTools->PSRAM->OPI PSRAM, choose the correct port, then compile & upload the sketch. You will probably need to hold the BOOT button while connecting the board and waiting for the upload to start.
- Install the
- The code is under WebFPV.
-
Result
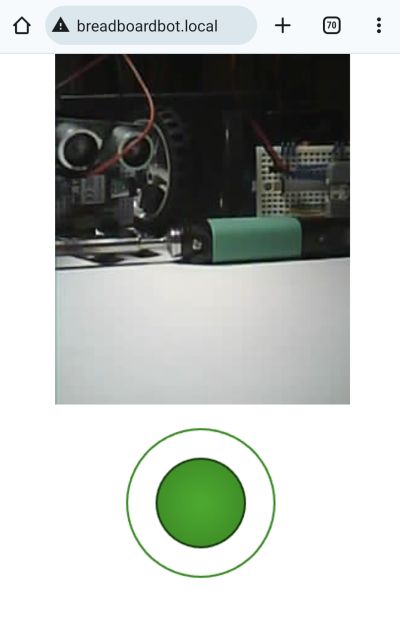
If you configured the robot to connect to your Wifi, open
breadboardbot.localon your smartphone and have fun steering it.If you did not configure the robot to connect to your Wifi, then connect to the
BreadboardBotFPVaccess point with your smartphone and go to192.168.4.1(for some reason mDNS does not seem to work for me in access point mode).As in the CircuitPython ESP32S3Sense example this is an impractical proof of concept demonstration, as the MCU heats up and consumes the battery quickly, which can result in disconnects or disappearing camera image after prolonged (> 10 minutes) use.